Category Archives: Computer

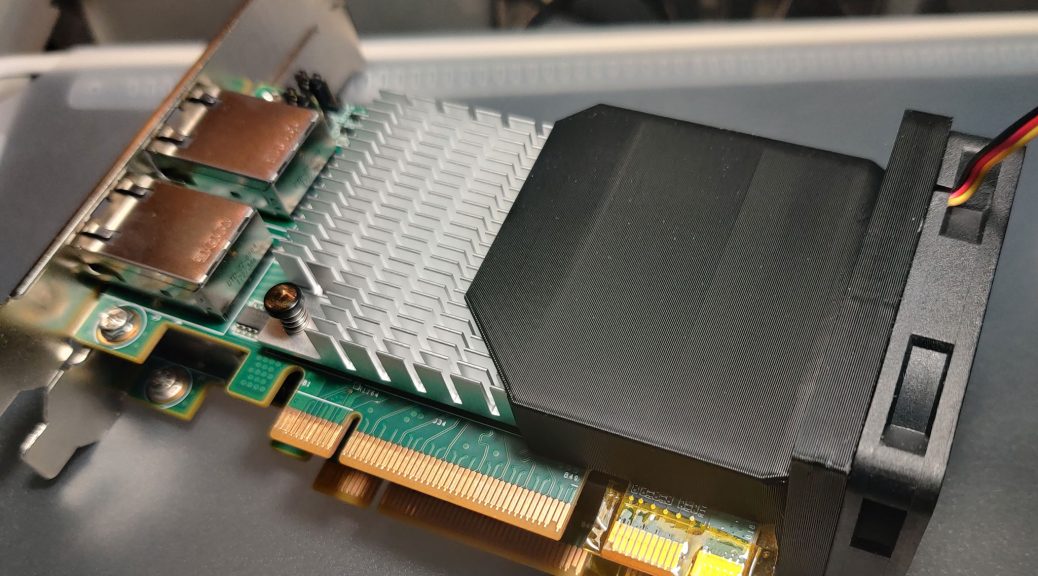
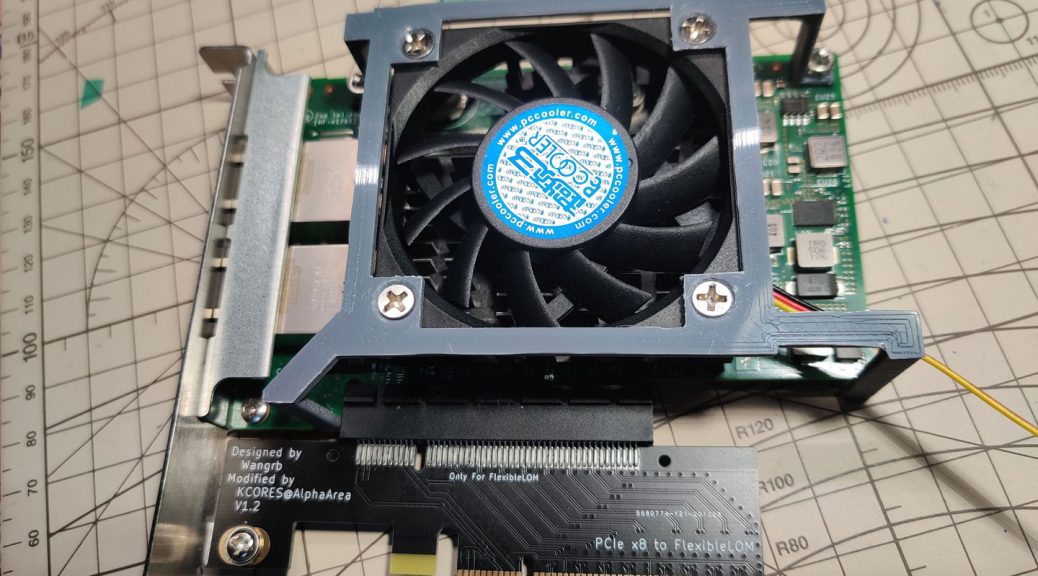
浪潮 Inspur X540-T2 散热风扇支架/导风罩

上次买网卡是两年前了, 现在浪潮 X540-T2 价格便宜(~40 人民币), 再买两块给路由用.

这块网卡本身是 PCI-e x8+x1 的专用接口, 然而只要屏蔽掉 x1, 就可以直接当 x8 的卡用了. 还有其他提高稳定性兼容性的操作, 可以自行搜索. 比起上一块 561FLR-T , 这块卡是挡板是标准 PCI-e 规格, 不需要锯机箱, 正好装在锯不动的乔思伯 U3 里.

当然电口万兆肯定很热, 和上次一样, 加风扇.

Continue reading 浪潮 Inspur X540-T2 散热风扇支架/导风罩

理想的科技树类型Modded Minecraft

由于最接近也是最近一次玩的mc周目omnifactory存档已删, 没有图了

科技树类型Modded Minecraft, 例如 GregTech New Horizon, 是以攀科技树为主要玩法的Modpack, 其中会出现大量需要各式各样机器处理的东西, 步骤多, 数量大, 耗时长, 需要自动化以方便操作.

所有存储及物流都由Applied Energistics (AE)控制. 因为AE实在是太强了, 它显然不是现实中能实现的物流系统, 但这就是游戏嘛. 也许用一个不那么强的, 比如Logistics Pipes也可以, 只要能任意接口自由IO即可.

所有与机器的交互都受Open Computer (OC)控制. OC应当能知道机器的工作状态(以便阻塞, 报错, etc.). OC应当控制IO, 例如将1个Copper Ingot和250mB Redstone投入机器, 或取出1个Red Alloy Ingot. 甚至能按Slot 定向IO. 当然也许有别的电脑Mod可以, 或者独立的Mod也可以.

所有合成表和计划合成都由OC控制而不是AE控制. 因为OC能知道机器状态, 进行队列控制, 防止往一个机器里一股脑加入太多东西导致出现有歧义的配方.

能量也可以加入监控及控制.

所有的合成控制状态等, 均可通过web/api查看或修改. 并可持续记录数据到数据库, 方便后续分析.

能量/库存消耗等, 可以简单线性回归预测还有多久耗尽/充满, 并根据现状/预测进行计划合成/开关机.

TODO

  1. OC需要能知道所有机器的工作状态. 偷懒的办法是只通过机器里还有没有东西判断.
  2. IO跨同一个机器的多个方块时, OC需要知道这是同一个机器
  3. 需要一个能由OC控制的定量IO的AE Interface
  4. OC需要知道合成表
  5. 需要保持chunk loading
  6. 就差一个写代码的了

561FLR-T cooling fan mount/散热风扇支架

前段(半年前)时间被种草买了两块 HPE 561FLR-T 电口万兆网卡, 用于连接NAS和主力机.
ref: https://post.smzdm.com/p/av7om33p/

入手之前就有了解会很热, 不过参考某视频, 加装一个6010风扇就行了.
ref: https://www.bilibili.com/video/BV1AA411M7UL?t=3m4s

于是购买了视频同款的超频三旋风F62风扇. 然而尝试和视频中一样使用扎带固定后没过多久, 风扇工作状态似乎就不太稳定. 于是决定单独弄个架子.

大概拿尺子量量画一下然后3D打印出来.
安装需要拆掉原来的金属条, 原来的螺丝可拆可不拆. 这里我只把塑料部分拆了.

Continue reading 561FLR-T cooling fan mount/散热风扇支架

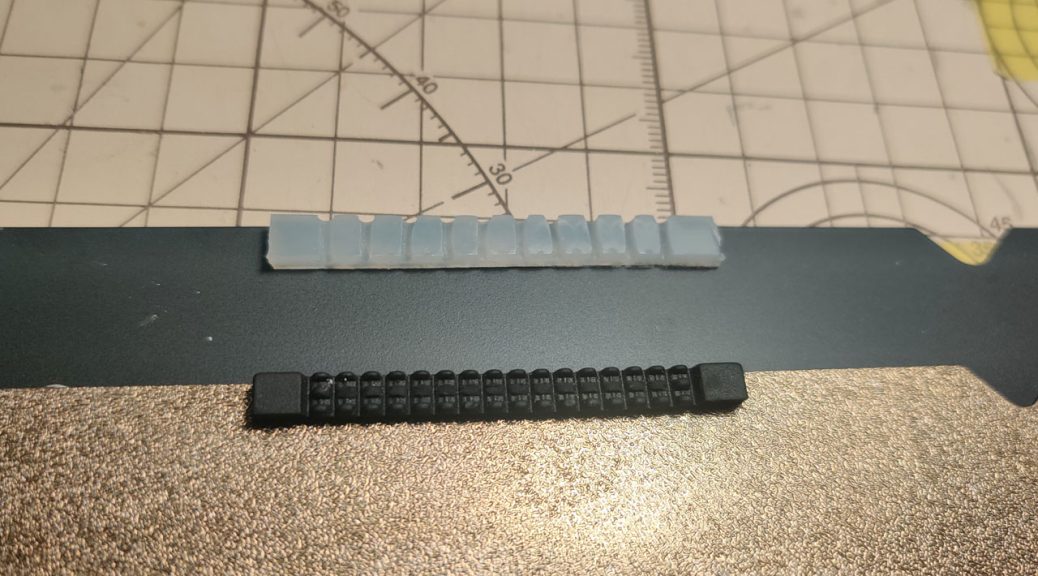
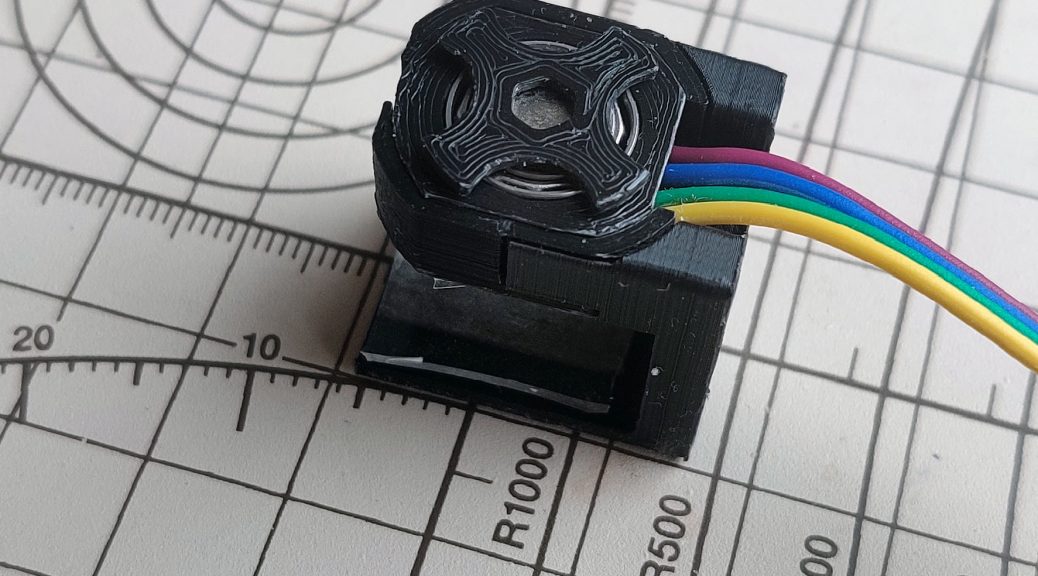
平板电脑漫画翻页器(飞梭)

2021-07-19 由于这玩意还挺好用的(天天用), 停止迭代很久了. 这两天平板电脑处于坏掉的边缘(换掉鼓包电池后问题修复), 再不发怕是拍 demo 又要等很久了.

Demo 视频

在 ehviewer 中前后翻页
在 potplayer 中快进快退

也可查看 YouTube 上的 demo 视频
https://youtu.be/qql_tM655xw
https://youtu.be/CejsZOpXph0

Continue reading 平板电脑漫画翻页器(飞梭)

EhViewer MOD

我当前主力的看漫画 Android 平板是联想 MIIX 520 上的模拟器. 与正常平板有所不同, 比如长按被 Windows 劫持了.
为了提高 EhViewer 体验, 以及适配我的 Android 设备和我平时的阅读习惯(比如先下载再看, 倒序阅读), 对 EhViewer 进行了部分修改.
由于修改完全依照个人喜好, 暂时无意发起 Pull Request 原 Repo 已 Archive 也发不了 PR 了.

Continue reading EhViewer MOD

How many trailing zeros does a factorial have

Simple question: How many trailing zero does 10000! have?

Simple to solve it using python

import math

factorial_answer = str(math.factorial(10000))
print(len(factorial_answer) - len(factorial_answer.rstrip('0')))

Python think about 100ms and tell me the answer is 2499.

This question is name as “Trailing zeros”
https://en.wikipedia.org/wiki/Trailing_zeros

The question become:

So we can just integer divide 10000 by 5 and get 2000, integer divide 2000 by 5 and get 400…. and sum all answers (2000, 400, …) until get 0.

let’s using recursion

def f(r, c=0):
    if r == 0:
        return c
    else:
        return f(r // 5, c + r // 5)


print(f(10000))

The function take two arguments, one for current answer, another for count result.

and make it into one line

f = lambda r, c=0: c if r == 0 else f(r // 5, c + r // 5)
print(f(10000))

Here we assign lambda expression to f and invoke it recursively. However, assign lambda expression is not recommended in PEP8. 不, 这不PEP8. And function f is exposed in namespace.  There are ways to make recursive into anonymous lambda function that won’t pollute namespace, as well as make it into really one line.

print((lambda a: lambda r, c = 0: a(a, r, c))(lambda s, r, c: c if r == 0 else s(s, r // 5, c + r // 5))(10000))

Another flaw is, we use same division twice, more precisely, “r // 5” twice.

To eliminate duplicate, closure may help.

def f(r):
    def _f(r):
        while r != 0:
            r //= 5
            yield r

    return sum(_f(r))


print(f(10000))

The process become, constantly dividing number by 5 and yield it to sum, until zero.

Make a function for that “continuously do something and yield it, until some condition” operation

def repeat_w_func(initial_input, repeat_func=None, yield_input=False, end_func=None):
    """
    constantly do calculate function and take output as next time input
    :param initial_input: the initial input
    :param repeat_func: the function that will be evaluate repeatedly
    if not set, the function behavior like itertools.repeat(initial_input)
    :param yield_input: if set to True, initial_input will be yield once before yielding repeat_func output
    :param end_func: the function that will end the loop and stop yielding. if not set, yielding will be endless
    :return: a generator
    """
    result = initial_input
    if yield_input:
        yield result
    if repeat_func:
        while True:
            if end_func:
                if end_func(result):
                    break
            result = repeat_func(result)
            yield result

    else:
        while True:
            yield initial_input

With brand new repeat with function function, we can solve the question elegantly, with help of itertools.takewhile function.

from itertools import takewhile
print(sum(takewhile(lambda x: x != 0, repeat_w_func(10000, lambda x: x // 5))))

Future research

Solve in function programming language like Haskell.

Is there a written functional just work like the repeat_w_func function in python or package?

Install Keras with CUDA on Windows 10 PC

Objective

The objective of this post is guide you use Keras with CUDA on your Windows 10 PC.

Install Dependencies

Hardware: A graphic card from NVIDIA that support CUDA, of course.

Driver: Download and install the latest driver from NVIDIA or your OEM website

CUDA: Download and install version 7.5 from  https://developer.nvidia.com/cuda-75-downloads-archive DO NOT install outdated driver intergrated in installer. Visual Studio integration and GPU Deployment Kit is not needed.

cuDNN: Download and copy all folder (there should be three: “bin”, “include”, “lib”) in zipped cuda folder to your CUDA installation folder (there should be “bin”, “include”, “lib”) https://developer.nvidia.com/cudnn You may need to register as an NVIDIA Accelerated Computing Developer Program member to process to download.

Python: Download and install Anaconda 2 from https://www.continuum.io/downloads Run conda install mingw libpython after installation.

Visual Studio: Install version 2010, 2012, or 2013. Newer version is not supported. The free community version is fine. We just need the compiler.

Microsoft Visual C++ Compiler for Python 2.7: Download and install from http://www.microsoft.com/en-us/download/details.aspx?id=44266

GCC: Download and install TDM-GCC from http://tdm-gcc.tdragon.net/

Install Theano and Keras

Keras support Theano or Tensor Flow as backend. However, Tensor Flow with GPU is not support in Windows. So just use Theano as backend.

Just install as a common package of python
pip install theano keras

Configuring Theano

Write a plain text file named .theanorc (or .theanorc.txt if previous one is hard to create)in your user folder(C:\Users\<Your username here>\)

Contents is as following

[global]
floatX = float32
device = gpu

[nvcc]
flags=-LC:\Apps\Anaconda2
compiler_bindir=C:\Program Files (x86)\Microsoft Visual Studio 12.0\VC\bin

[dnn]
enabled = True

[lib]
cnmem=0.75

“device = gpu” means use gpu resource
Replace “C:\Apps\Anaconda2” to your installation path of your Anaconda 2. There is no space between “flags=-L” and the path.

Replace “C:\Program Files (x86)\Microsoft Visual Studio 12.0\VC\bin” to your installation path of Visual Studio. There should be a “cl.exe” at that path.

Replace “cnmem=0.75” to your free graphic card memory ratio. You may use GPU-Z from https://www.techpowerup.com/gpuz/ to determine how much memory can be allocated to Theano besides your normal usage (for screen display, etc.). Theano will eat that much memory (75% of memory in this configuration) when you initialize Theano every time.

Test Theano

Open python console and run import theano

It may be a little slow, but eventually it will print something like

Using gpu device 0: <Your GPU> (CNMeM is enabled with initial size: <Your cnmem ratio> of memory, cuDNN <numbers, whatever>)

Stop python console if it looks fine.

Configuring Keras

To manually assign Theano backend, change following lines in C:\Users\<Your username here>\.keras\keras.json

{
    "image_dim_ordering": "tf", 
    "epsilon": 1e-07, 
    "floatx": "float32", 
    "backend": "theano"
}

Replace "image_dim_ordering": "tf", to "image_dim_ordering": "th", to use Theano’s image channel order(BGR).

Replace "backend": "tensorflow" to "backend": "theano" to assign Theano as backend.

Test Keras

Just run the example from official repositry https://github.com/fchollet/keras/blob/master/examples/imdb_cnn.py

Wait and you will know if it works well. You may also watch GPU-Z to know how many GPU resource is been used.

Conclusion

Now you get a fully workable Keras instance with CUDA acceleration.

PotPlayer Mini Skin Fixed for version 1.6.59347

After an update of PotPlayer, the older mini skin seems stopped working. Only a windows style border w/ title bar are shown with no control components nor progress bar. But modified mini skin on DA still working. So I wonder what’s the difference.

Analysis: PotPlayer skin file has ‘.dsf’ extension. Opening in hex editor, it has file head of “PK”. Obviously it’s ZIP. After extracting, it’s “VideoSkin.xml” that define the skin appearance. It seems that “VideoSkin.xml” of the original mini skin is some kind of broken or in wrong format which new version of PotPlayer can’t parse.

Fix: Correct hard-coded string in “VideoSkin.xml” and save as UTF-8(w/o BOM) and re-package into ZIP file.

Download: https://github.com/exzhawk/Mini_UTF8.dsf/releases